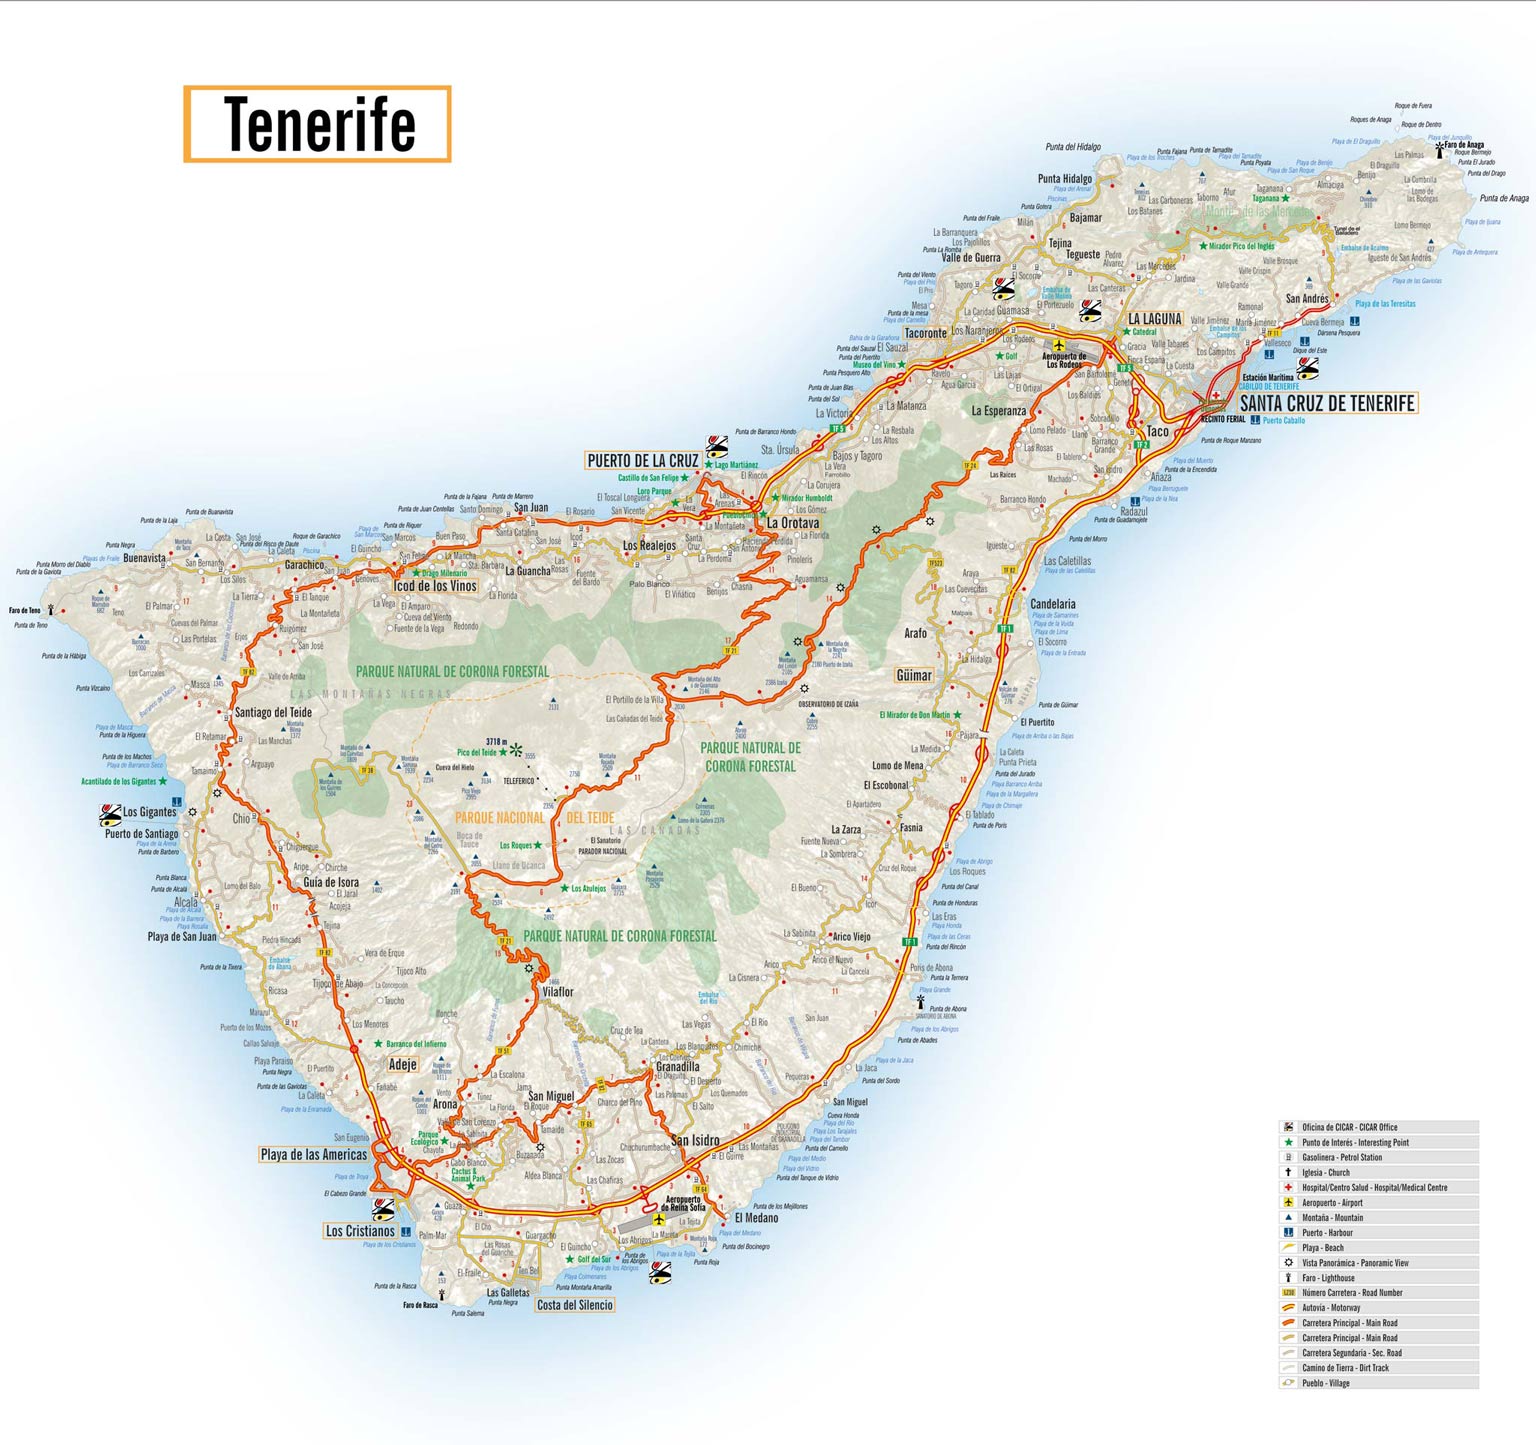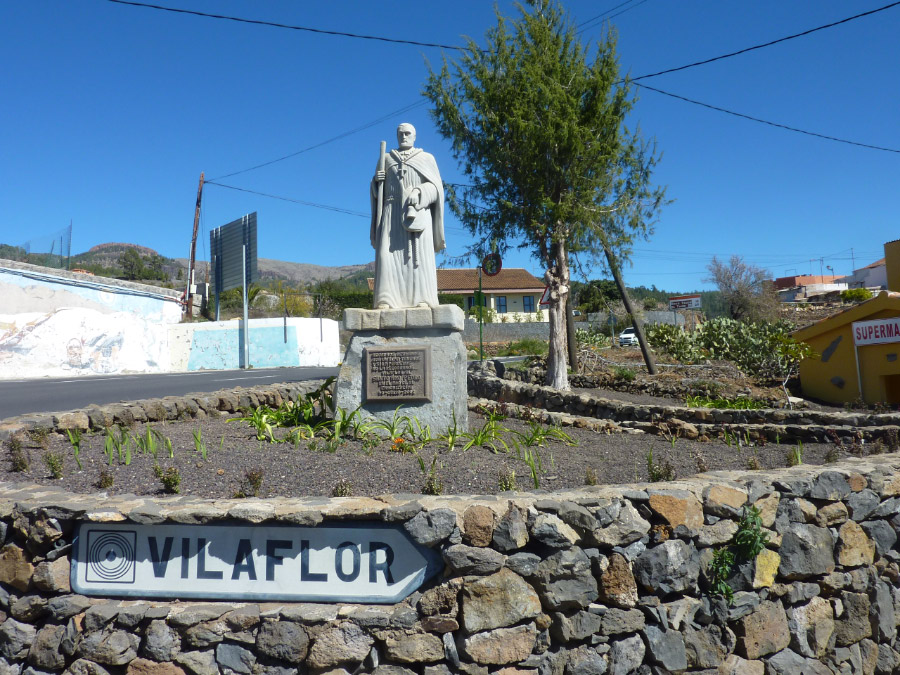

Mallorca and the TransTramuntana route
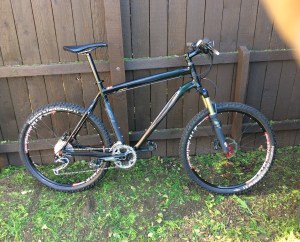
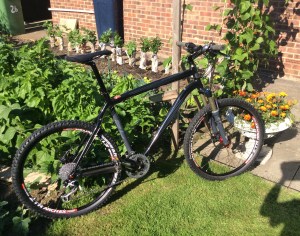
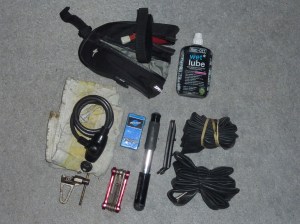
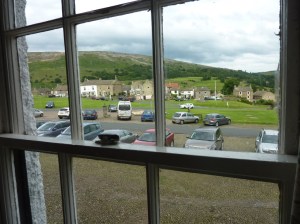
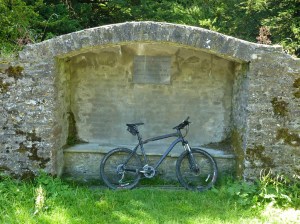
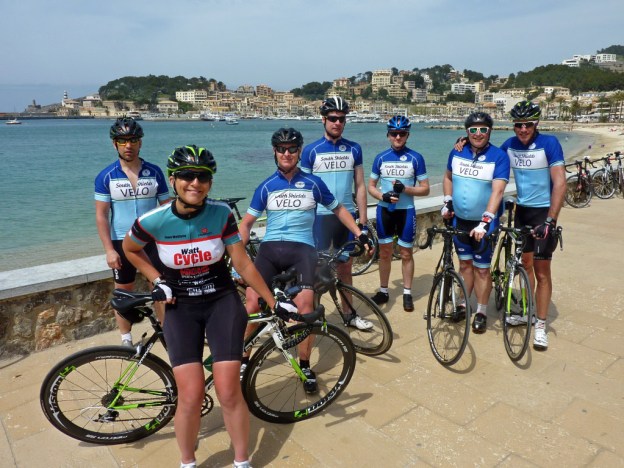
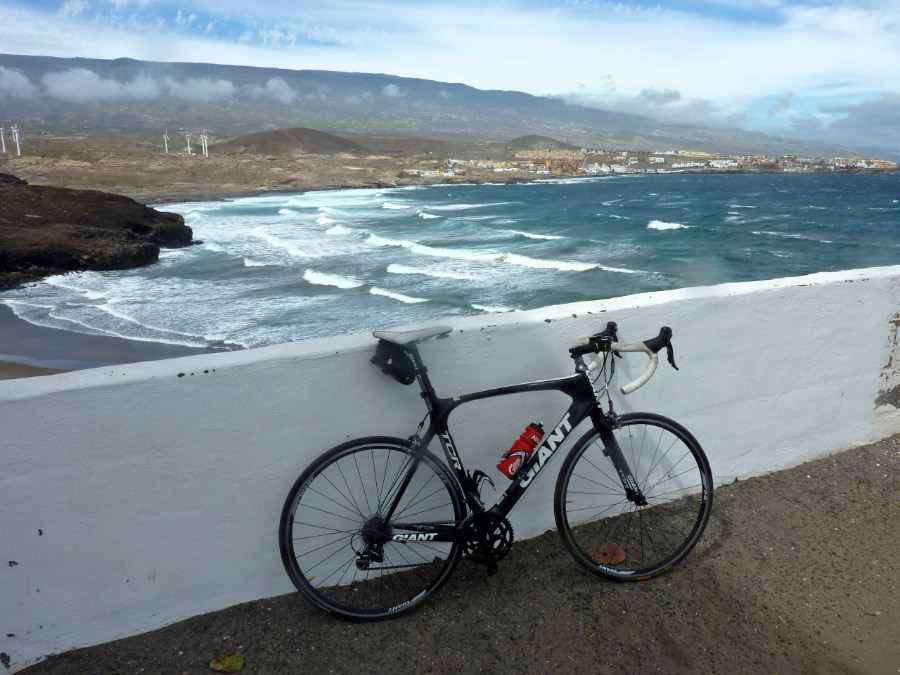
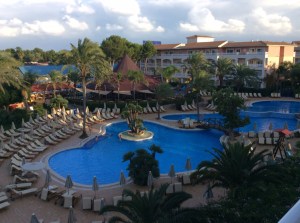
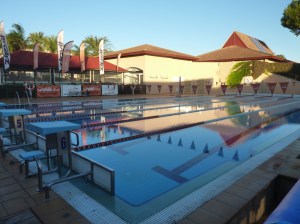
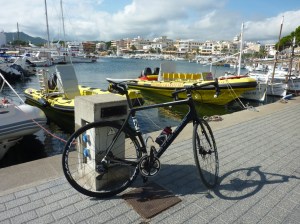
This was my second trip to Mallorca this year and this time I stayed at the Viva Blue Hotel in Playa de Muro, situated on the narrow strip of land between Alcudia Bay and the Albufera Natural Park. The Viva Blue is well set up to cater for sports type holidays, especially cycling and triathlons, it has a six lane 25m heated outdoor swimming pool, a good gym and in the basement a large bike store and hire centre capable of holding hundreds of bikes. The bike I hired was a Canondale Synapse with a 58 cm carbon frame, electronic Di2 gears and disc brakes, a very nice bike. I didn’t book any meals at the hotel in advance as I wanted the flexibility to eat out in the evenings, but most mornings I paid for a buffet style breakfast which had a great selection to choose from. I booked this trip at short notice and it was intended as a gentle end of season cycling holiday but a few days before I flew out I discovered that the TransTramuntana 4500 event was being held on the day before I was due to fly back….. I entered online straightaway ! The mountains on Mallorca are concentrated in the north of the island and are called the Tramuntana. The famous and very scenic Ma-10 road which starts in Pollenca and ends in Andratx practically runs the full length of this mountain range, the TransTramuntana 4500 ride starts in Port de Pollenca and follows the Ma-10 all the way to Andratx before looping back to Soller via Galilea, Esporles and Palmanyola. From Soller it’s then a big climb back up to the Monnaber Tunnel near the top of Puig Major and a very fast descent back along the Ma-10 back to the finish in Port de Pollenca, a distance of 235km (143 miles) and 4500m of climbing, hence the name of the event – the TransTramuntana 4500. There is also a shorter event the TransTramuntana 3000, which runs at the same time but is still a very tough ride.
-

Cala Rajada marina
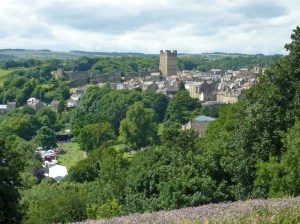
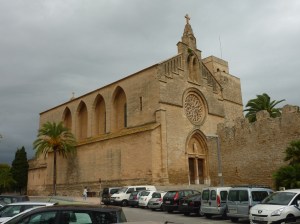
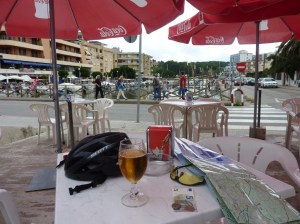
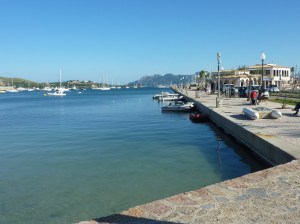
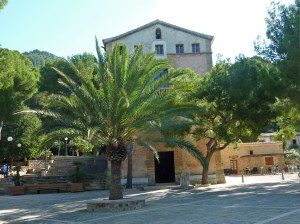
Day1 After an early breakfast I went to pick my bike up from Xavi in the bike store and set it up for the week ahead and then headed off east along the Arta road (Ma-12) the weather was dull but dry (for now…..) and about 19/20c. just before Arta I turned off left to Ermita de Betlem a lovely quiet dead-end road with great views that climbs up to a col and then drops down to a monastery, it was then back to Arta and had a spot of lunch in the very pleasant town square. Fully refreshed I carried on east to Capdepera and Cala Rajada with its bustling marina. I tried to find the road that went to the lighthouse at Punta Capdepra but couldn’t locate it. I then headed south on the Son Severa road climbing the small but traffic free Coll des Vidrier (Motor traffic uses the tunnel) and rode into the scenic town of Portocristo for more refreshments. Manacor was next via the Ma-4020, once I reached here the weather took a turn for the worse, it got decidedly dark and heavy rain started to fall, I didn’t enjoy the section to Santa Margalida at all, once here though the weather relented and the Ma-3410 back to Can Picafort was much better. 138km ride.
-

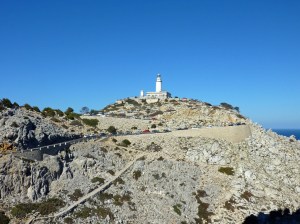
Formentor Lighthouse ride
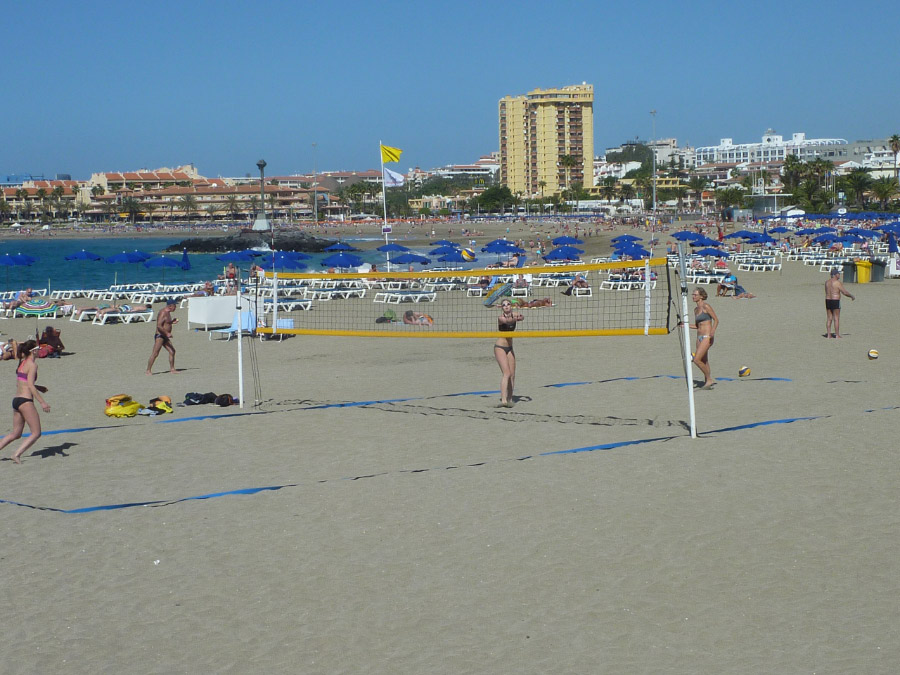
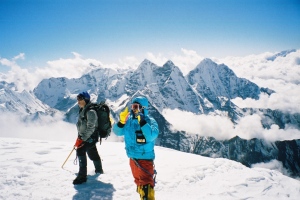
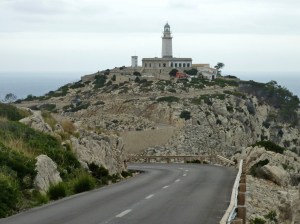
Day 2 A shorter ride today but a very popular classic – the ride to Cap de Formentor lighthouse. The route from the hotel follows the main road past all the hotels and shops that line the edge of Alcudia Bay, then up into the old town of Alcudia itself before turning off right to follow the cycle way on the edge of Pollenca Bay with great views of the jagged hills that lead to the light house. It pays to do this ride early in the day as it does get very busy later on, it is actually quite a tough ride with lots of ups and downs, it has recently been resurfaced and is very smooth most of the way. When I done it there were a lot of roller skiers out doing it too and I was surprised how fast some of them were moving. 70km ride.
-

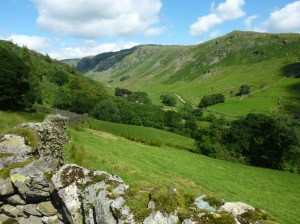
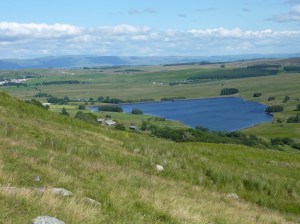
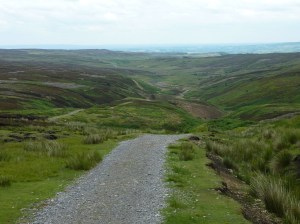
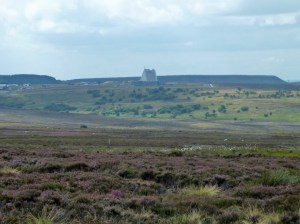
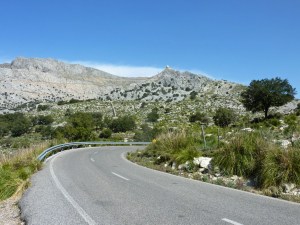
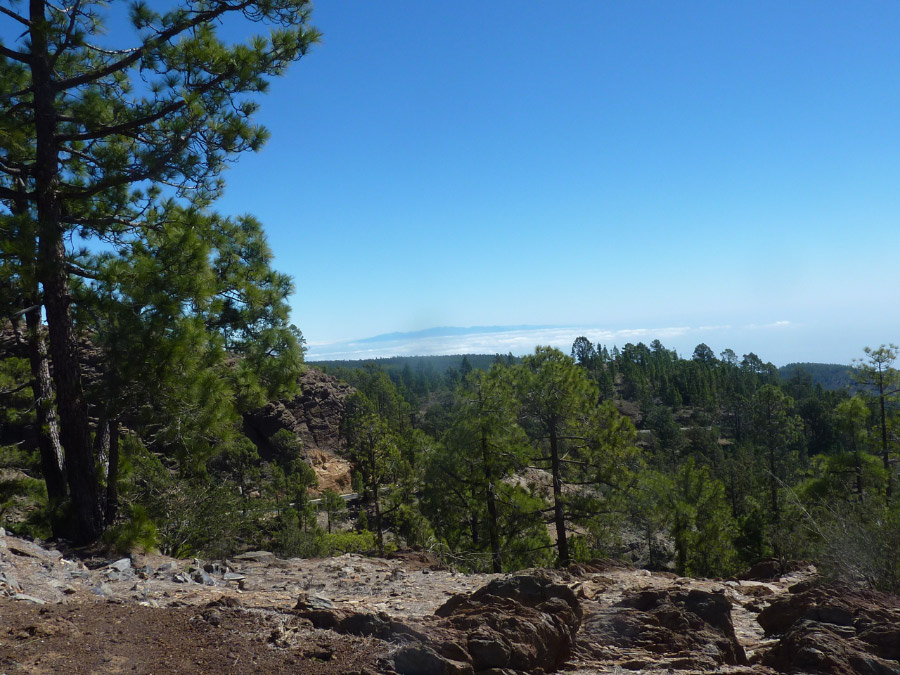
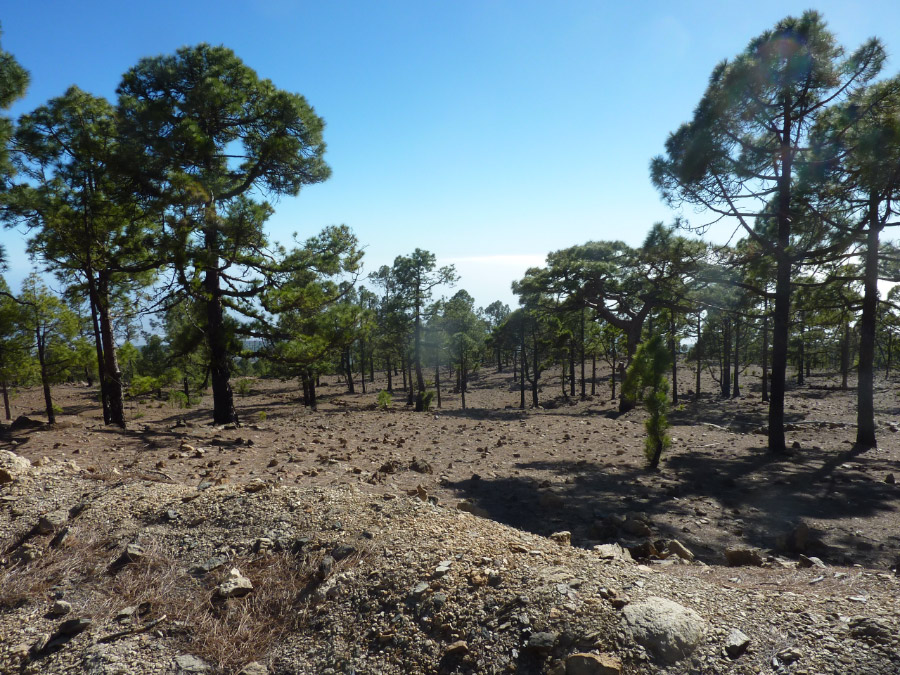
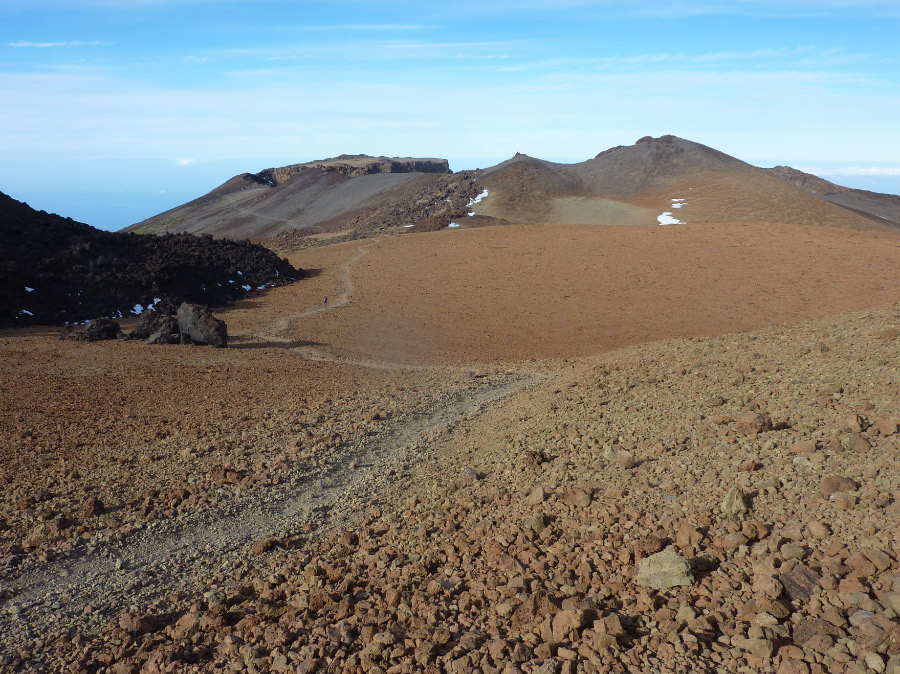
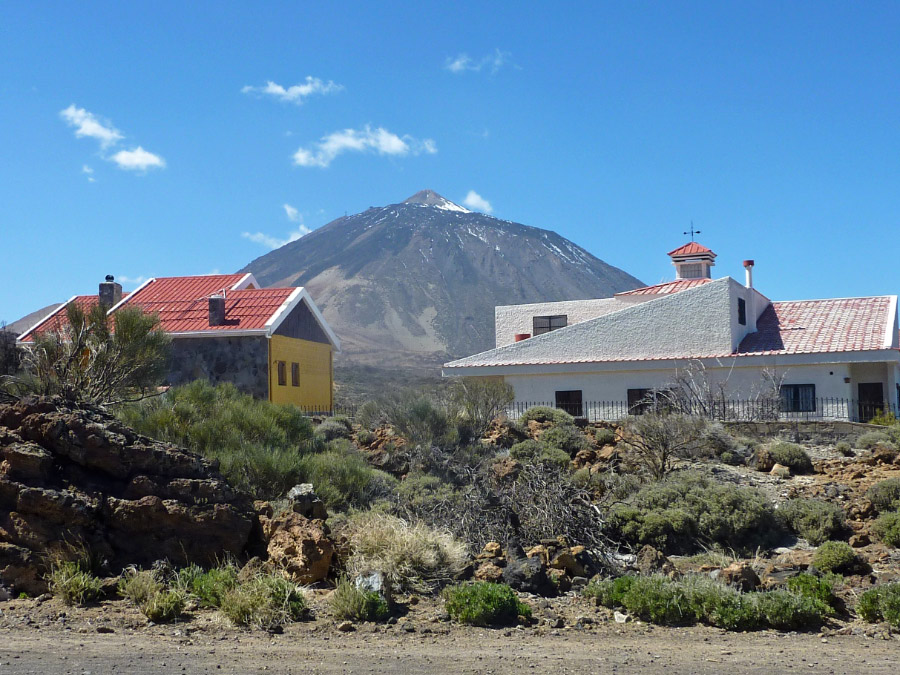
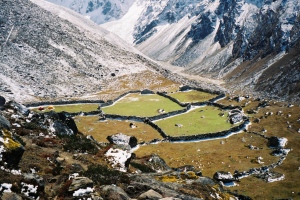
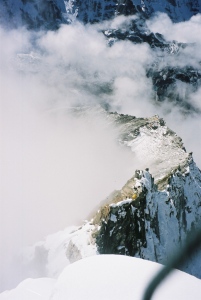
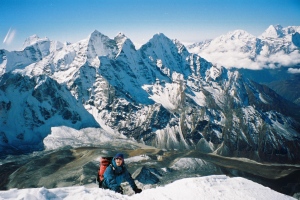
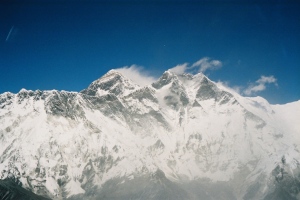
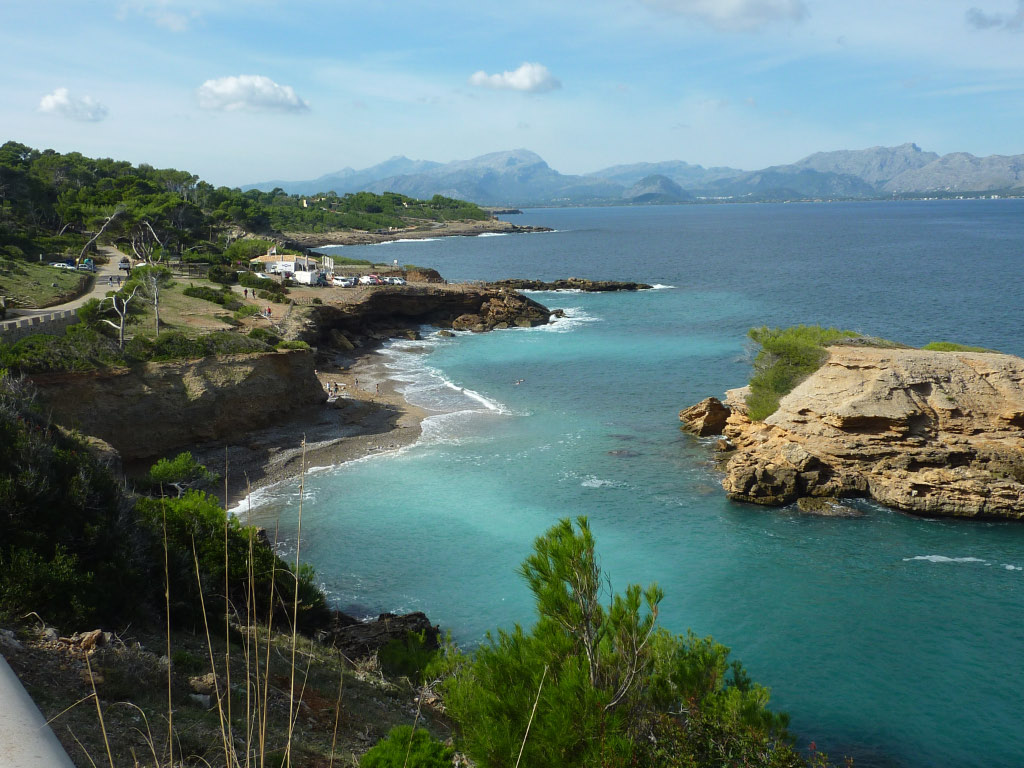
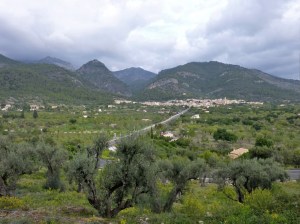
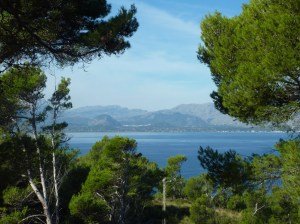
Views from near Alaro
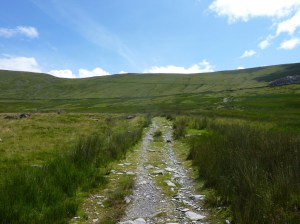
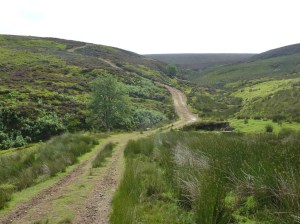
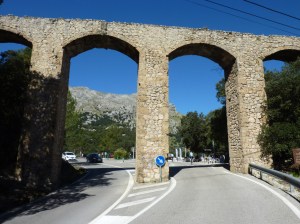
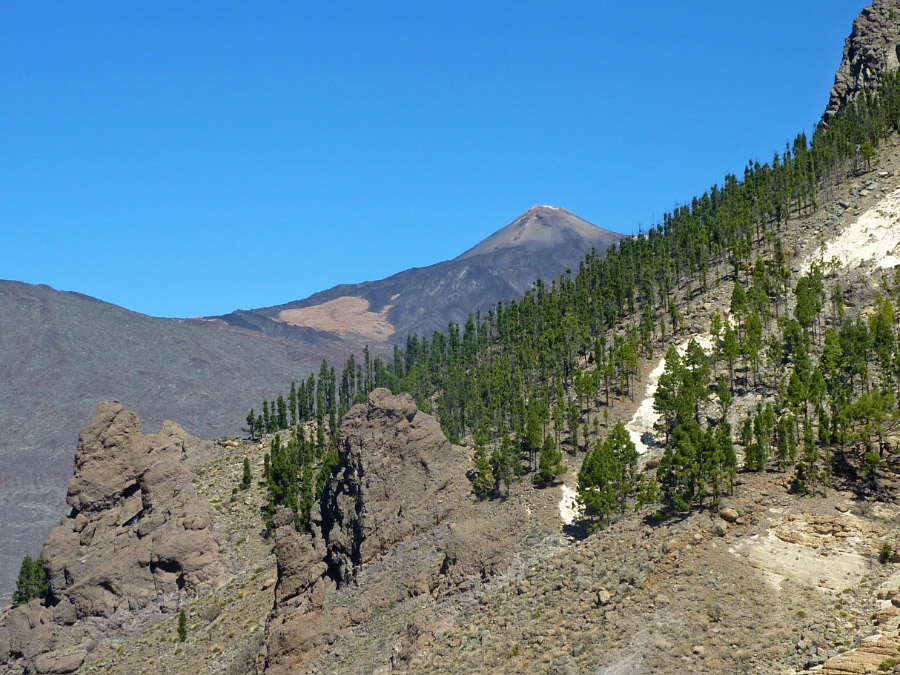
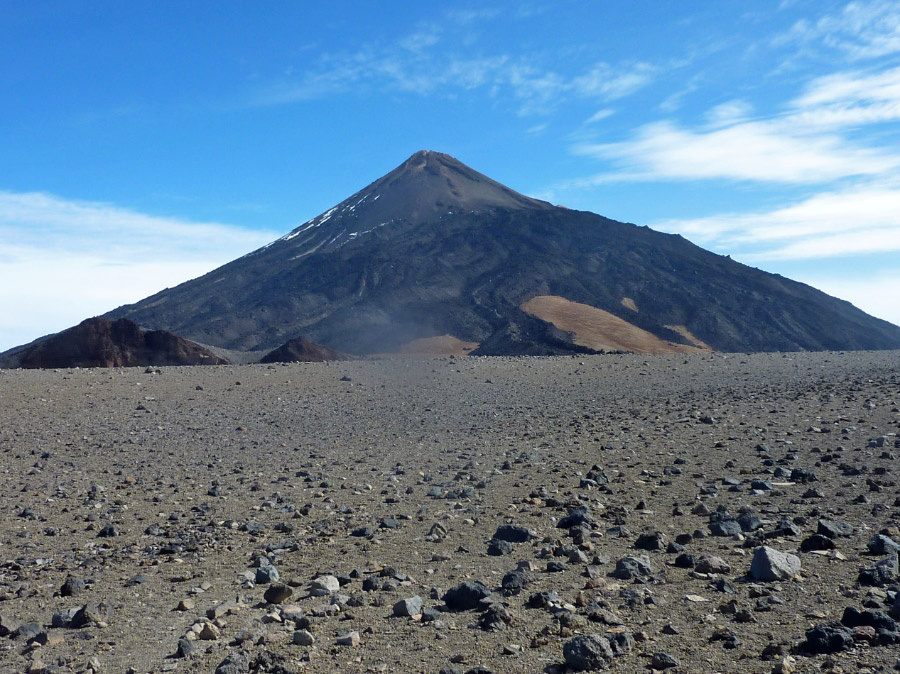
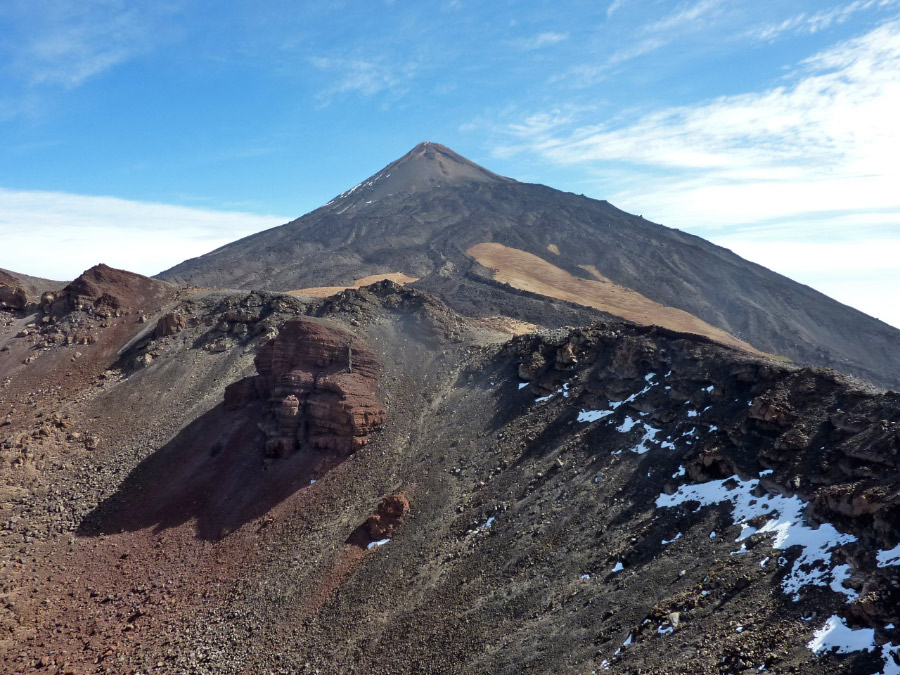
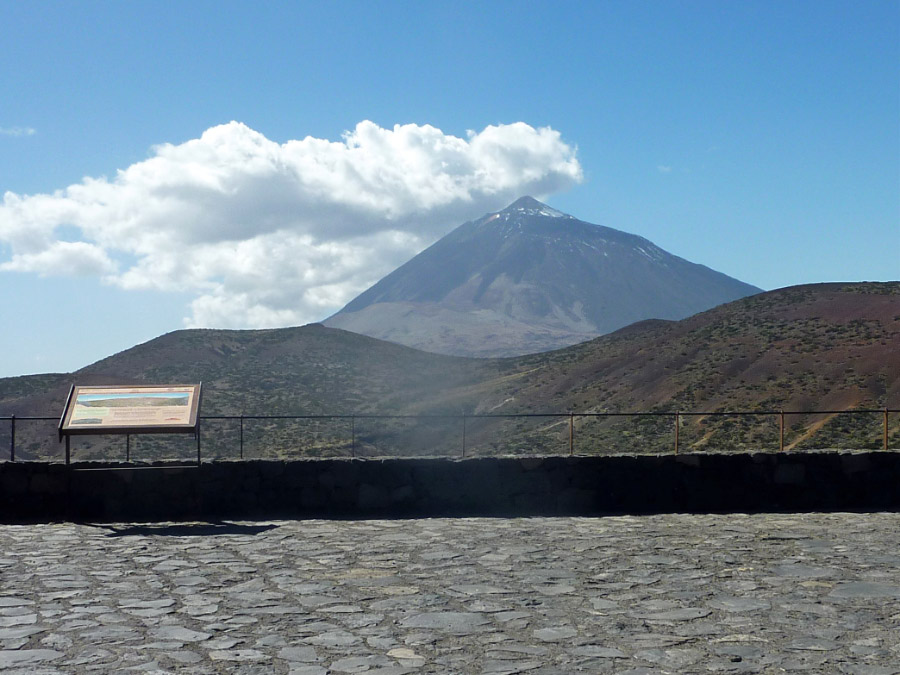
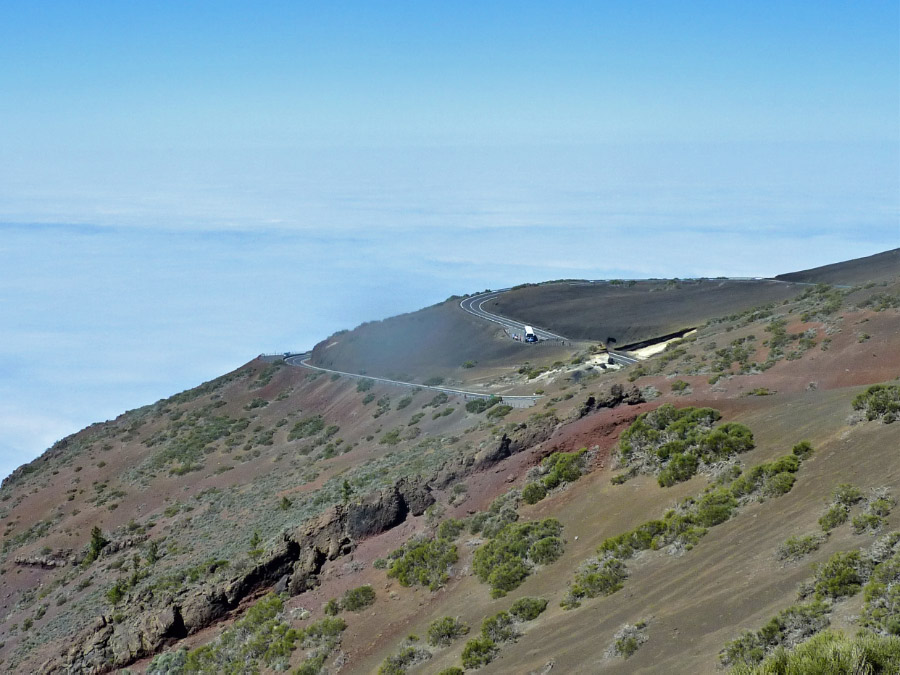
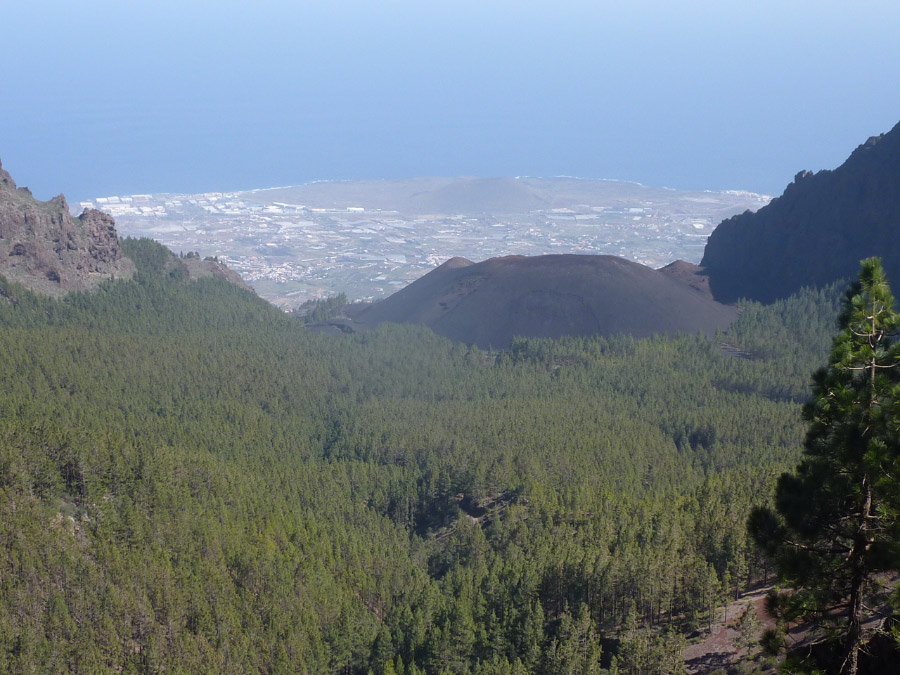
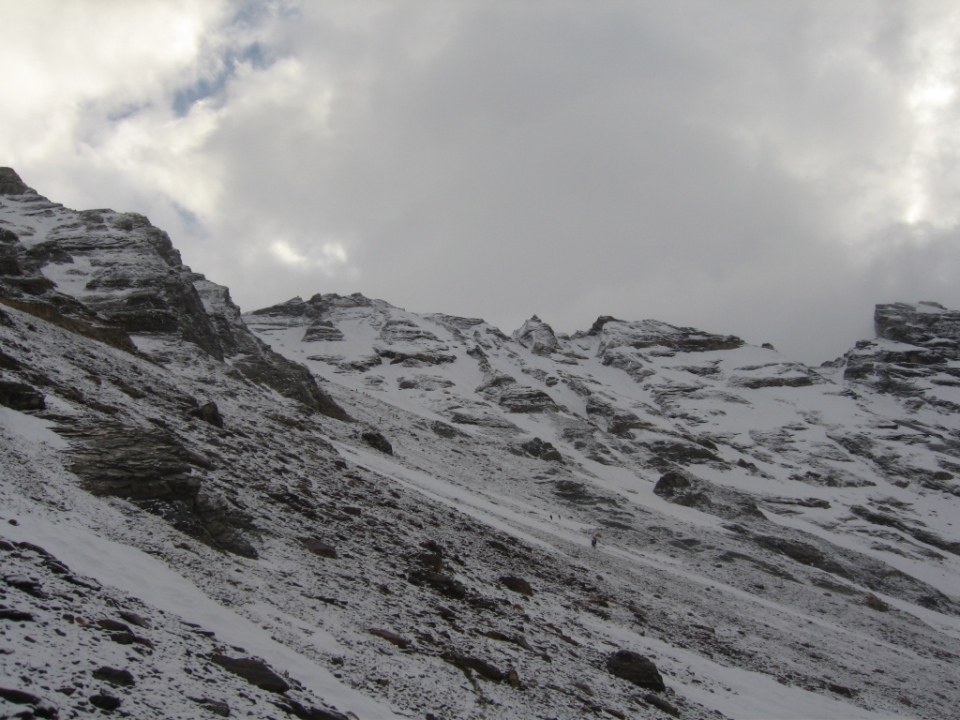
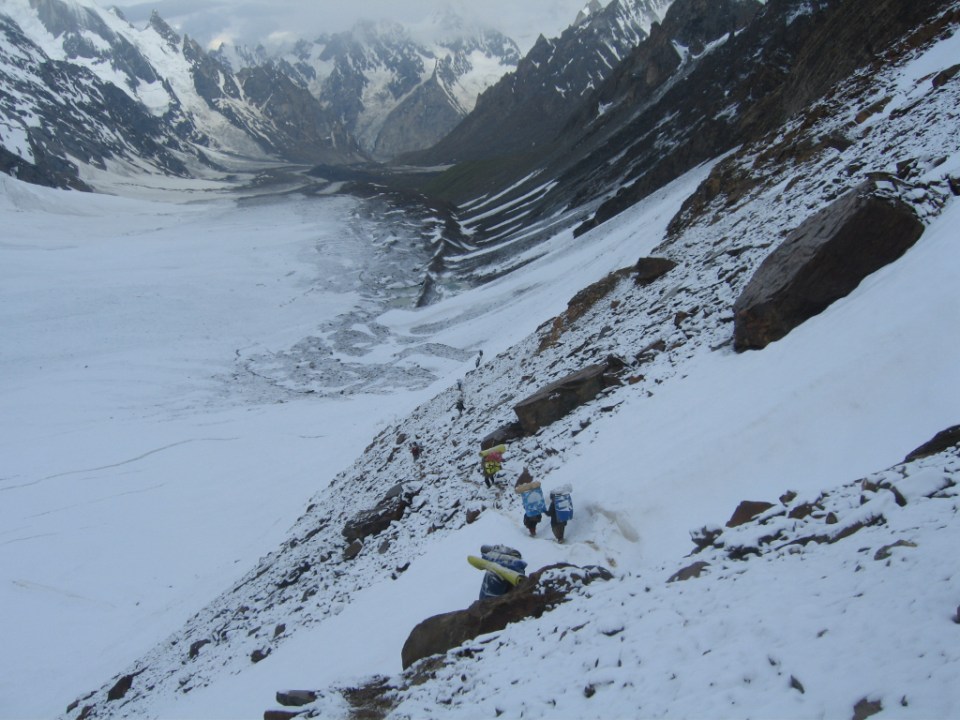
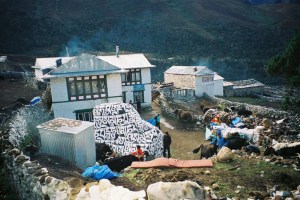
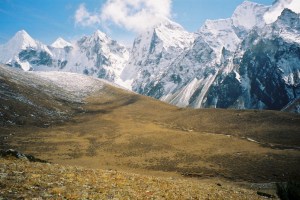
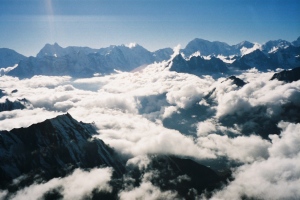
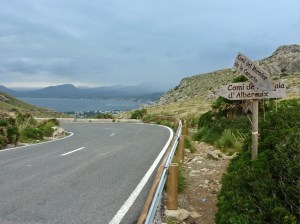
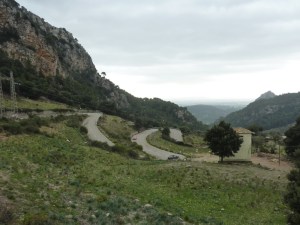
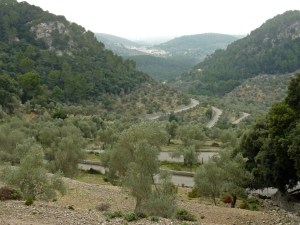
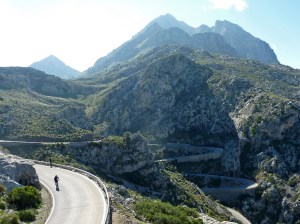
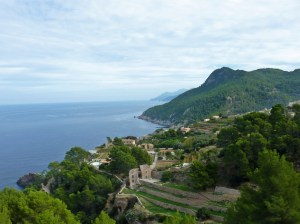
Day 3 A windy, cool start to the day with some rain mixed in too but set off hopeful on the Ma-3433 to Sa Pobla then onto Campanet, Moscari, Selva and dropped down to Caimari which is one of the gateways to the Tramuntana Mountains. Caimari is the start of the Coll de sa Batalla climb which is very popular with cyclists and has a good restaurant at the top, after a brief stop here I pressed on up the Ma-10 to the aqueduct and continued straight on up to the first tunnel and past the two lakes then into the Monnaber tunnel which marks the high point on Puig Major for road users. From the other side of the tunnel the only way is down and lots of it, I think it’s about 14km of sweeping, fast as you dare, hairpin curves all the way down to Soller, once on the flat again I headed for the lovely bay of Port de Soller for a beer and some spaghetti bolognese. Fully refreshed I headed south on the Palma road (Ma-11) for a few km once the tunnel is reached most of the traffic disappears into it, leaving the old road on the left very quiet with its numerous hairpins bends leading up to the Coll de Soller. It’s fast again down the other side before joining briefly the Ma-11 before turning off to Bunyola and then climbing up to the Coll d’Honor heading for Alaro, Lloseta, Biniamar and back into Selva. Moscato, Campanet, Buger, Sa Poblar and the Ma-3433 finished the ride off. 147km ride.
-

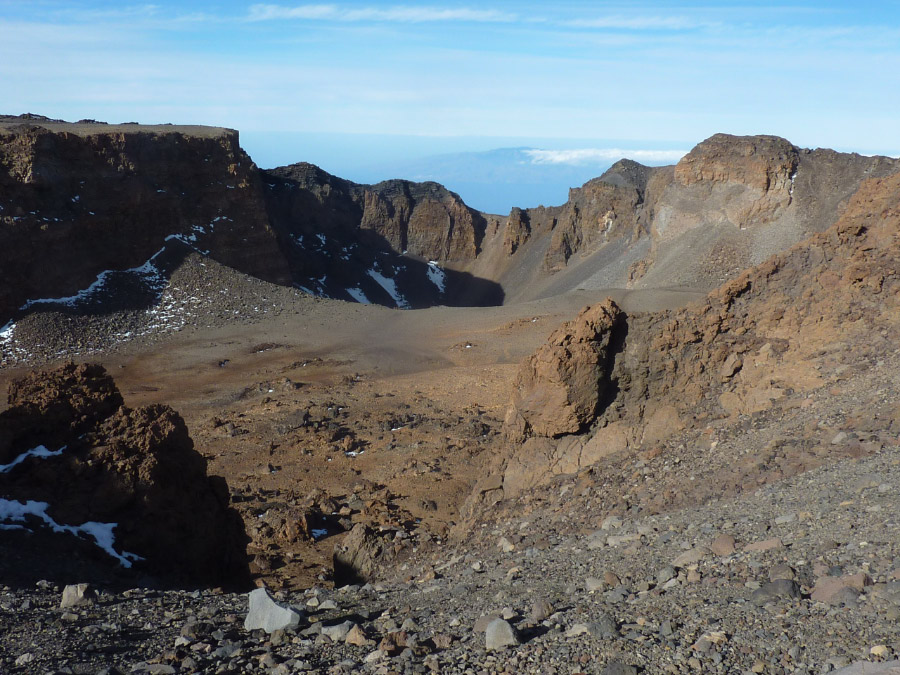
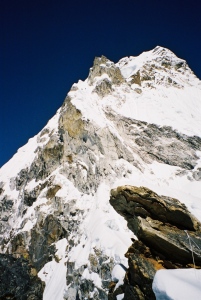
Sa Colobra
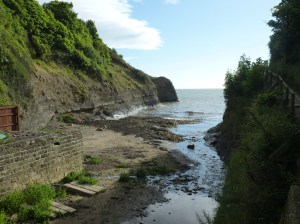
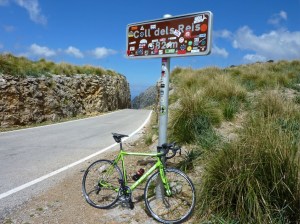
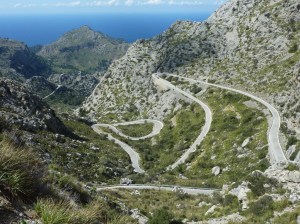
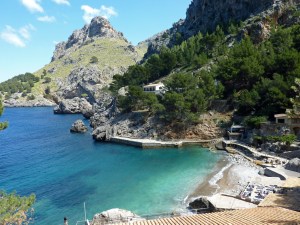
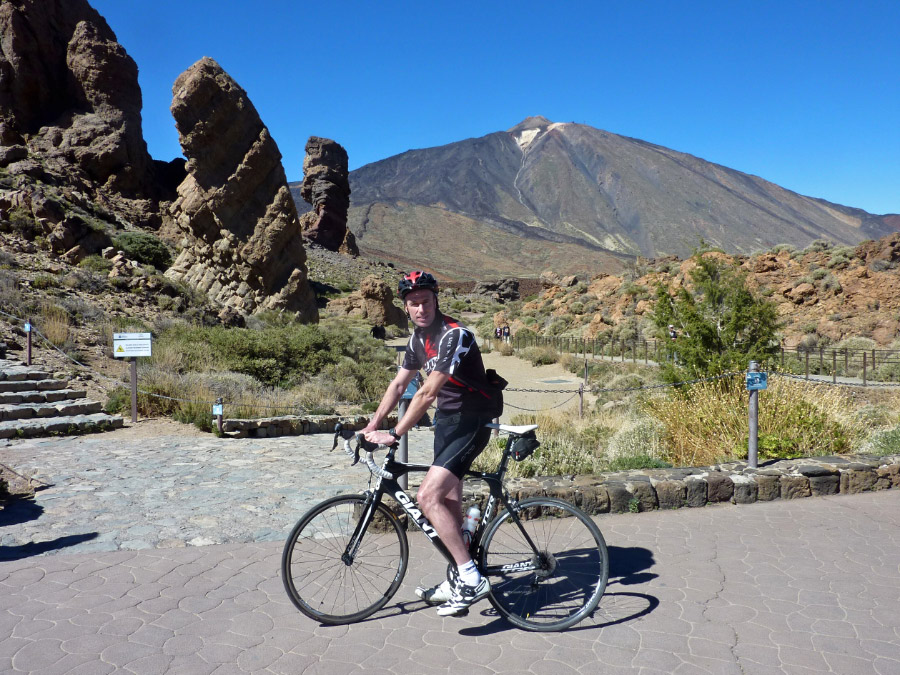
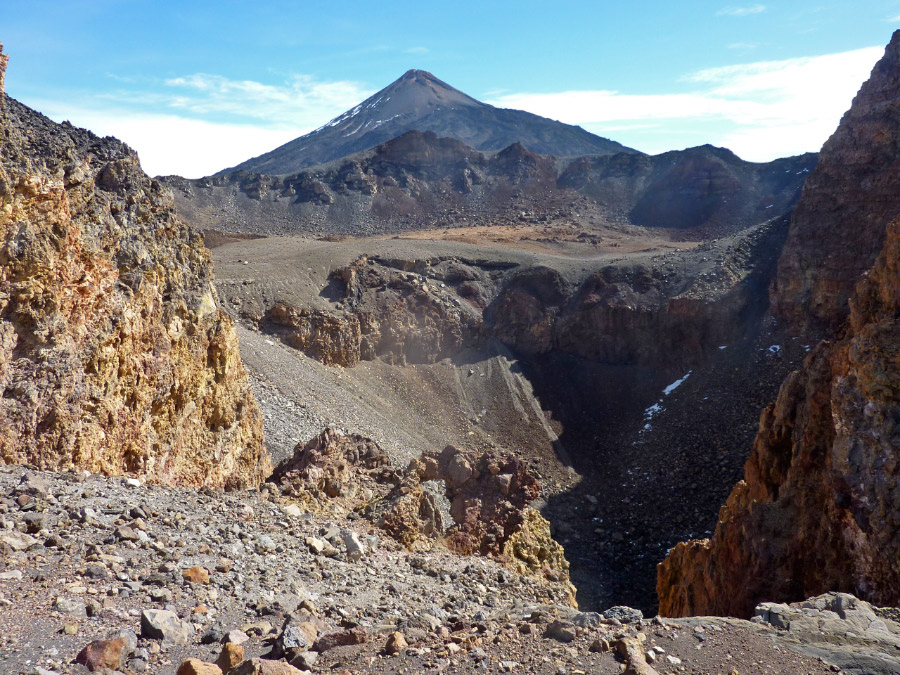
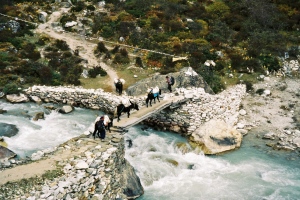
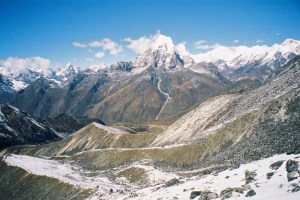
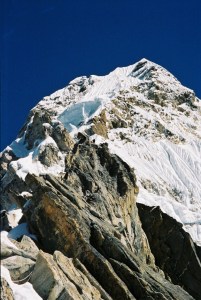
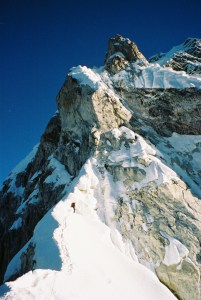
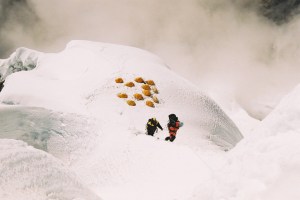
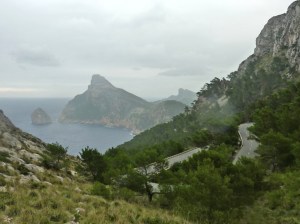
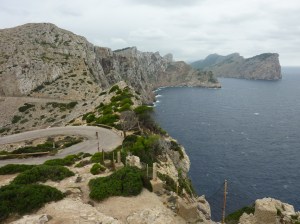
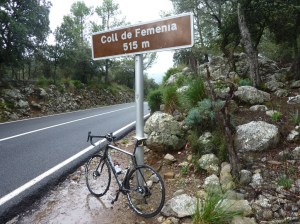
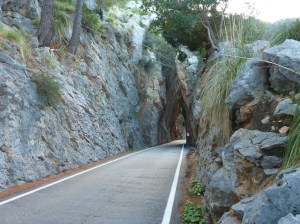
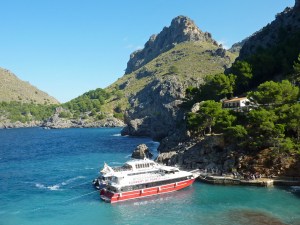
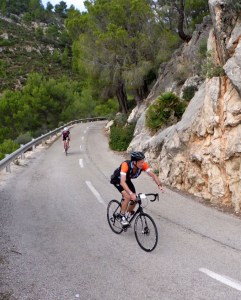
Day 4 Perhaps the most famous climb on Mallorca is Sa Calobra and is unusual in the fact that you have to climb over a couple of cols first and then descend it to a dead-end port before you can turn around and climb back out. I cycled into Alcudia and past the big church as usual and explored the quiet lanes that lead to the Ma-2201 and onto Pollenca and joined the start of Ma-10 into the Tramantuna mountains, the road rises gently for a few km before the climb up to the Col de Fermina kicks in. I called in at the restaurant at the top of the Col de sa Batalla for a coffee and a baguette before tackling the roller coaster section leading up to the aqueduct, here the road splits and I turned right for the climb up to the Col de Cal Reis and the top of Sa Calobra. This is another climb, or descent in this case, where it pays to get here early, I had been passed on the way up by a couple of tourist coaches and I could see them down below me negotiating the tortuous hairpin bends as the road snakes down to the small port below, I took it very steadily but even so the descent gives you a real buzz as you enjoy the curves and the accelerations out of the bends but it also requires your best concentration as the consequences of a miscalculation could be very nasty indeed! At the bottom there a few restaurants where you can relax and enjoy the surrounding for a while before facing the long climb back up to the Coll de Cal Reis, once at the top though you have a fantastic fast descent most of the way back to Pollensa with only a few short climbs to slow you down. 135km ride.
-

Ermita de la Victoria ride
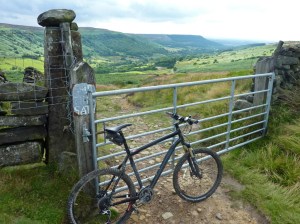
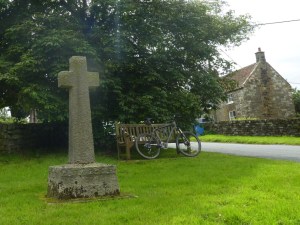
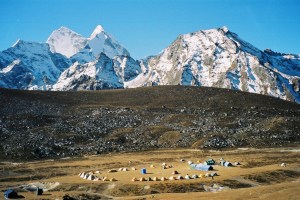
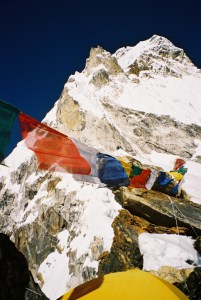
Day 5 The day before the TransTramuntana event so no big rides today. Started off with a swim in the lovely hotel pool, followed by half an hour in the gym before heading off to register at 3.00pm for the event at the Hotel Hoposa Uyal in Port de Pollenca, which is also the start of the race the next day. I had plenty to time so decided to explore the road which goes along the peninsula which forms the southern end of Pollenca Bay, it is the road to Mal Pas and further on to the Ermita de la Victoria. It is a quiet and very scenic dead-end road with quite a lot of climbing involved, especially if you go up to the church first. The road ends at a metal gate at the entrance to a tunnel, it is military access only after that. The sea views are probably even better on the way back and this would be a great ride to combine with the lighthouse ride to Formentor. I continued on to Port de Pollenca and had some lunch at a sea front restaurant, followed by an hour lying on the beach in the warm sun waiting for registration to open, which went smoothly and I rode back to my hotel with my registration pack wearing the event Santini race shirt to prepare everything for an early start tomorrow. 47km ride.
-

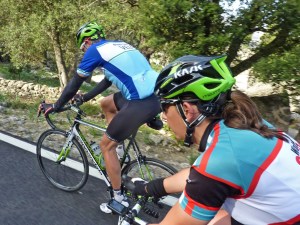
The start in Port de Pollenca (photo: Margalida Ferrer)
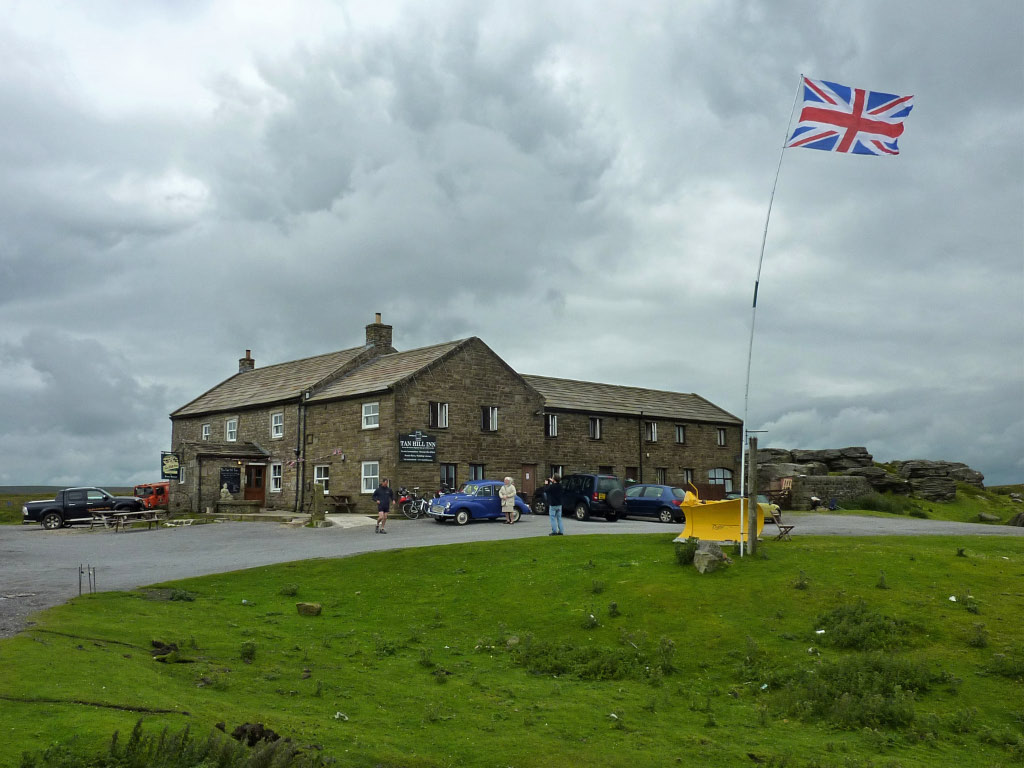
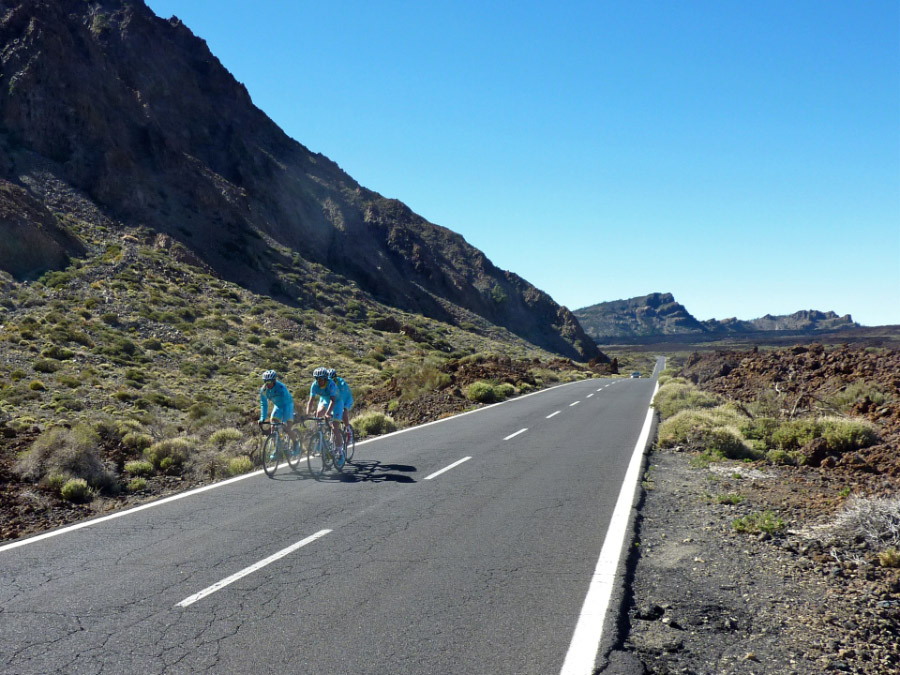
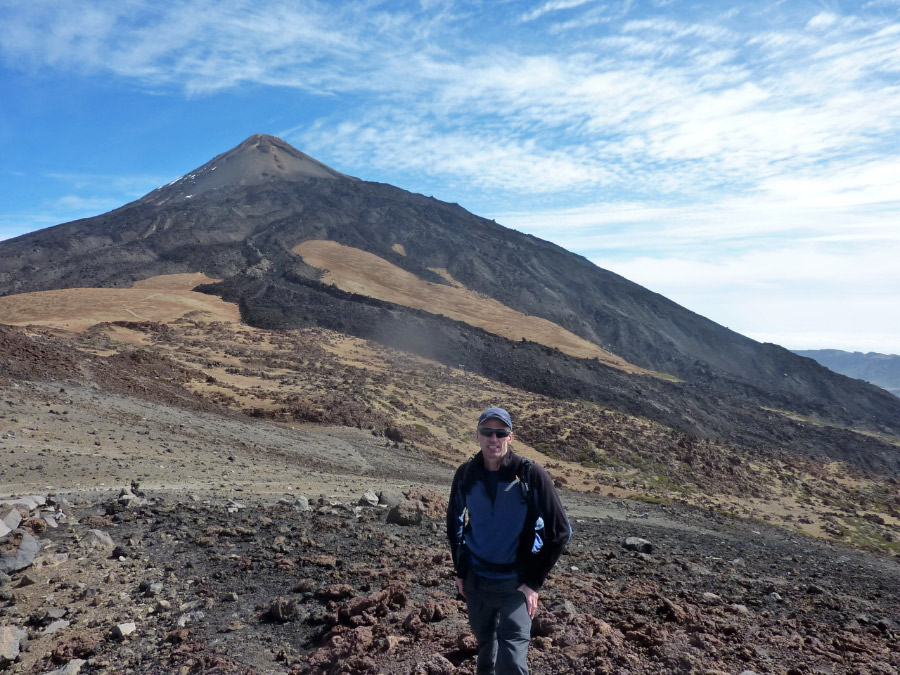
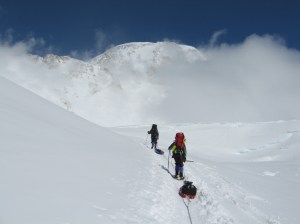
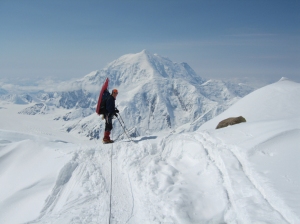
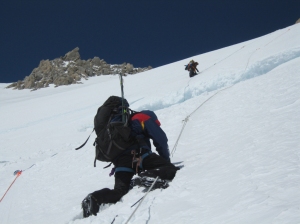
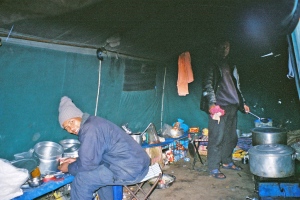
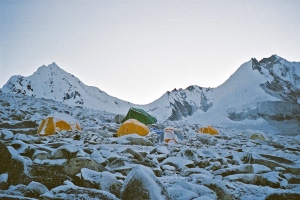
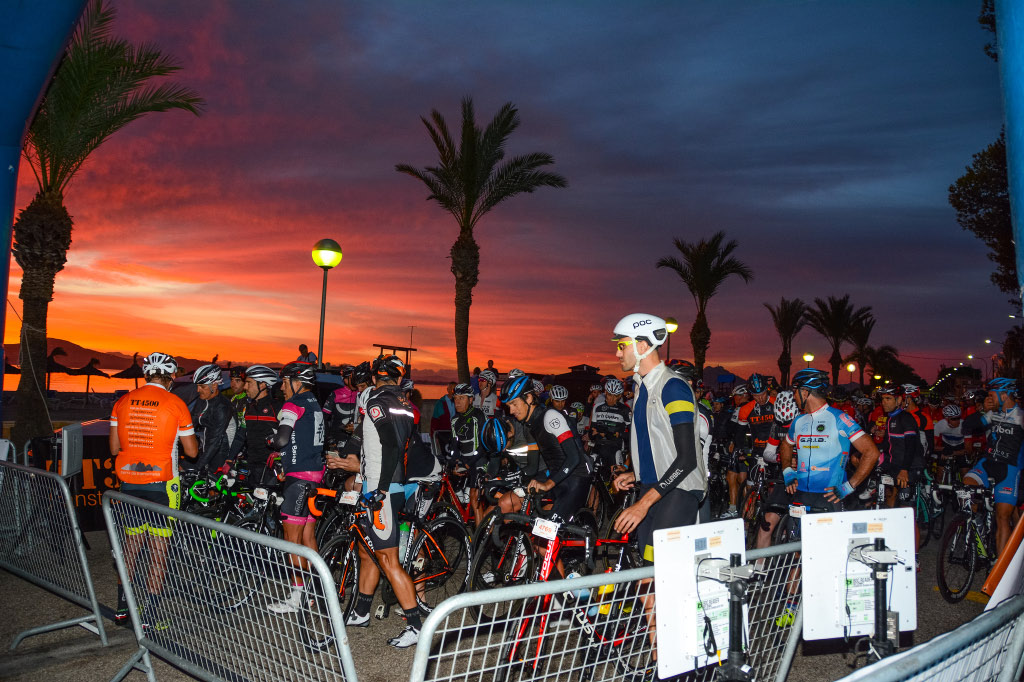
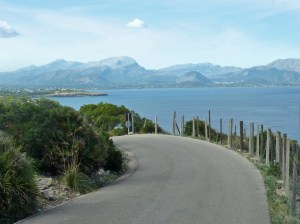
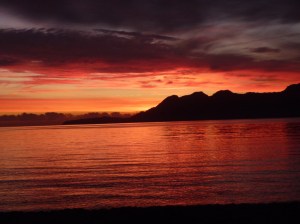
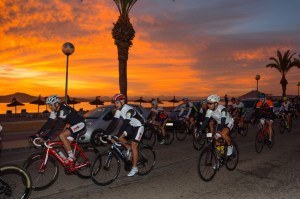
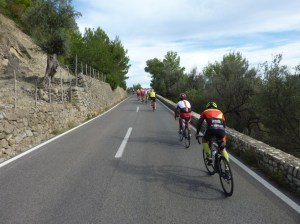
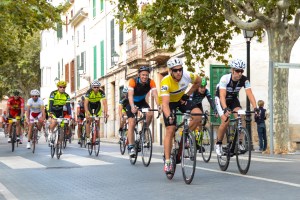
Day 6 Transmuntana 4500 day. The event would start at 8.00am at Port de Pollenca which was about 15km away so an early start was needed and it was quite eerie cycling along the quiet streets in the pitch black, I got there with 20 mins to spare enough time to capture some of the atmosphere and to witness a stunning sunrise out over Pollensa Bay. Closed roads and a police escort saw the peloton of about 450 riders quickly reach the Ma-10 and it was soon apparent that this was to be no leisurely sportive event, the leading group were setting a cracking pace and I was unable to match it so settled into my own pace but with only 11 hours of sunlight at this time of year and 235km to cover I knew it was going to be a hard day. The weather was just about ideal with warm sunshine, light winds and good visibility all day really. I was relieved to finally reach the Monnaber Tunnel and the fast descent into Soller seemed to go on forever. At the turn off for Deia I was on roads I’d never been on before and it was great passing through places I had only studied on a map before and what a road it is, up and down all the way with stunning views along the jagged coast line. At the feed station at Can Costa, just before Valldemossa, I think the race was neutralised for a while as it was getting too strung out, the organisers had a police car with flashing lights at the head of the race all the time and an event support van which looked like an ambulance following the main group, I felt sorry for the car drivers stuck behind us on these narrow twisty roads unable to get past us.

Great sea views on the road to Andratx
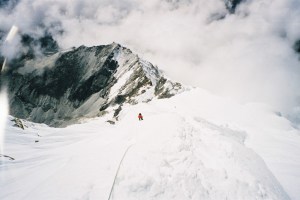
Shortly after leaving Can Costa was where the race split up, with the shorter event people turning left and longer event turning right heading for Andratx along a beautiful high road over looking the sea, again it was up and down all the way but it was a great relief psychologically to finally reach the feed station at Sa Coma near Andratx because after here we would be heading back, however I barely had time to refill my water bottle and grab a sandwich before the police car had fired it lights up again and the peloton was off straight into the next series of cols, I found this 28km section quite tough as fatigue was starting to set in now and judging by the faces around me I wasn’t the only one suffering. The feed station at Sa Granga just before Esporles was a welcome sight, the whole peloton of riders seemed to be assembled here and I had the luxury of a full 5 minutes to down some Coke and grab a bite to eat before the police car again fired its lights up and we were off again and it was a very fast pace along the flattish roads leading to Palmanyola, I kept up for as long as I could before the elastic finally broke and I watched the peloton disappear up the Ma-11 heading for the almost traffic free ascent of the Coll de Soller, I caught a few of the tailenders going up here and although I was obviously tired by now I was enjoying it again as I knew I was going to make it, I grabbed a quick drink and some food at the top of the col and set off on the impressive hairpin laden descent, (there has got to be near 50 of them!) re-joining the Ma-11 again to swoop down into Soller and the right turn for the start of the last big challenge of the ride – the ascent of Puig Major.

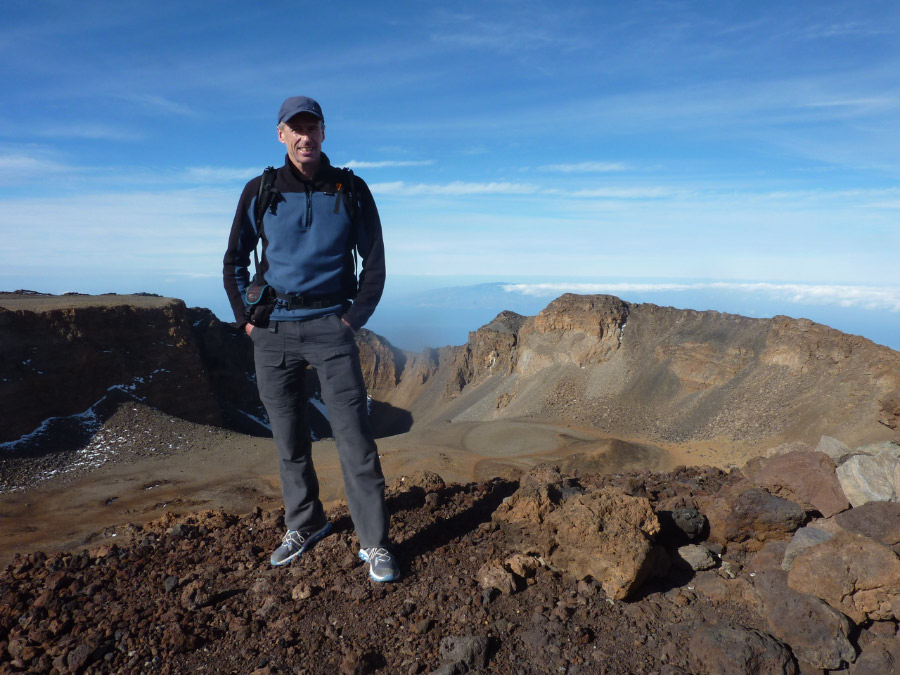
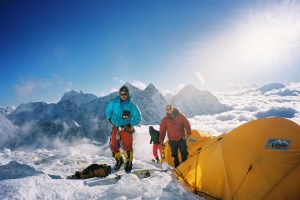
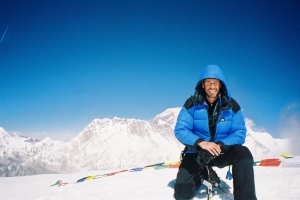
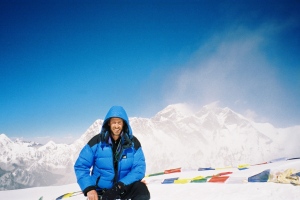
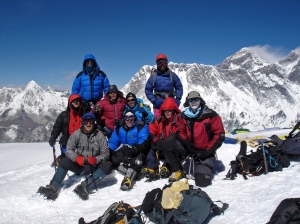
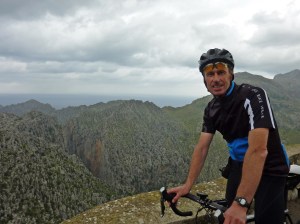
Tired but happy at the end of the day
The climbing starts within a few hundred meters and its best to settle into a comfortable pace as for most people it’s about an hour of solid climbing and it just seems to go on and on, eventually however the high point at the Monnaber Tunnel looms into view and signals the end of all major difficulties on the ride from now on its mainly all downhill and fast. I could see a large group of riders ahead in the distance with the lights of the police car in front and tried to join them but cars in the tail back behind them were slowing my progress down, eventually however I picked the cars off and just where the Ma-10 starts to straighten out with about 14 km to go I finally joined the peloton of about 25 riders and noticed straightaway how much easier it is to cycle in a large group. I think for me this last section was the highlight of the whole ride, the police car in front now had its sirens going as well as the flashing lights and motor bikes were blocking the traffic at roundabouts so we had a clear run into Pollensa and we were flying along down to the Port and to the right hand turn along the sea front, to the finish outside the Hotel Hoposa Uyal, it was a great way to finish a memorable ride! I had a finishers medal placed around my neck and was pointed in the direction of the free pasta, Coke and beer which went down a treat, after that it was back on the bike for the 15 km ride in the dusk, back to the hotel at Playa de Muro- just what I needed! 265km ride.


My time for the event was 10 hrs, 18 mins , 28 secs (22.8km/hr).
There was also a king of the mountain timed section on the big climb of Puig Major and my time for this was 1 hr, 3 mins, 20 secs (13km/ hr).
The TT4500 was a great event and I must say a word of thanks to the organisers and volunteers who put in a lot of work to make this event happen, thank you all! It was a special end to another enjoyable week cycling in Mallorca and we are already booked up to come back in the spring for the equally challenging cycling event – the Mallorca312 which is a ride around the circumference of the island ( 312 km or 193 miles) with a time limit of 14 hours.
-
- View from my balcony in the Viva Blue, Playa de Muro
-

- Hotel Viva Blue swimming pool
-
- Hotel Viva Blue swimming pool
-
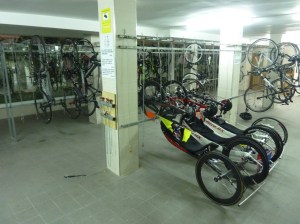
- Bike store in the Viva Blue hotel
-
- St Jaume`s church, Alcudia
-
- Cala Rajada marina
-
- Portocristo
-
- Portocristo refreshment stop
-
- Looking back to Pollenca Bay on the way to Formentor Lighthouse
-
- Formentor Lighthouse ride
-
- Formentor Lighthouse ride
-
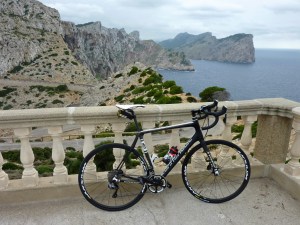
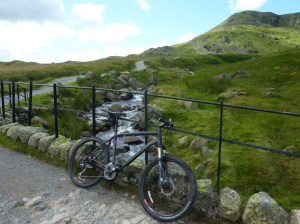
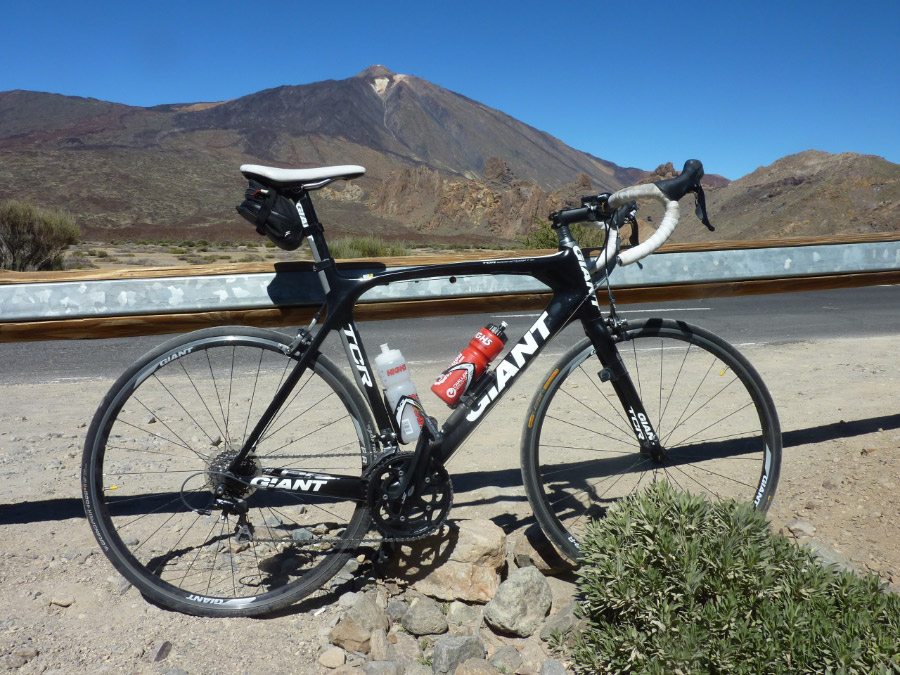
- Canondale Synapse – Di2 – disc brakes
-

- Formentor Lighthouse ride
-
- Formentor Lighthouse ride
-
- Caimari and the start of the Tramuntana Mountains
-

- The start of the Coll de sa Batalla at Caimari
-
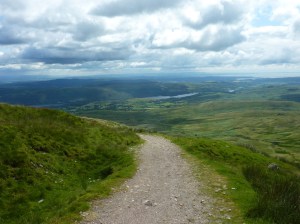
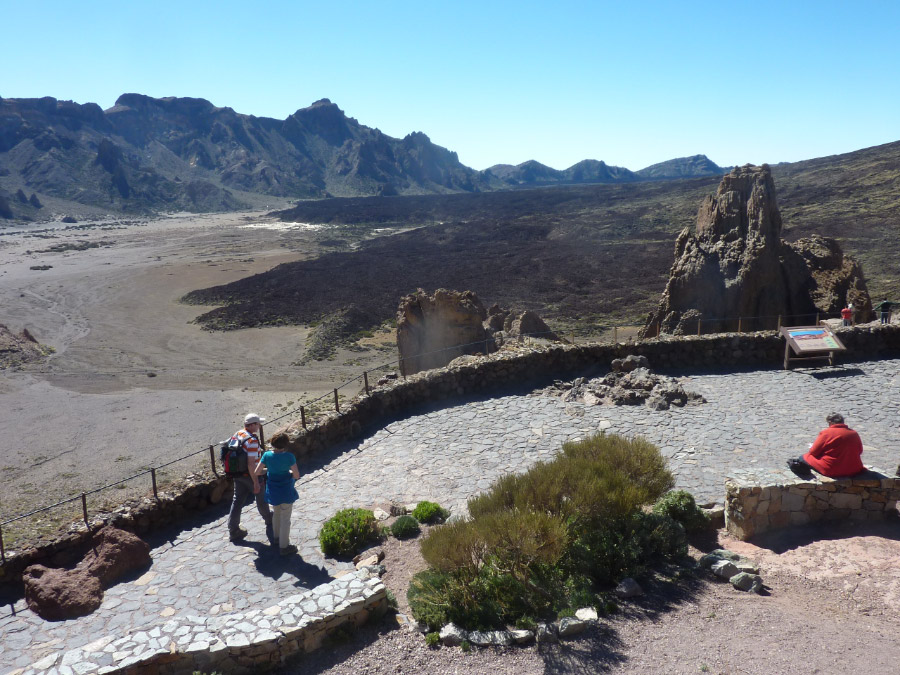
- Viewing point near Escorca
-

- Coll de Soller
-
- Coll de Soller (south side)
-
- Olive groves on the Coll de Soller with Bunyola in the distance
-
- Views from near Alaro
-
- Coll de Femenia
-

- The Aqueduct on the Ma-10
-
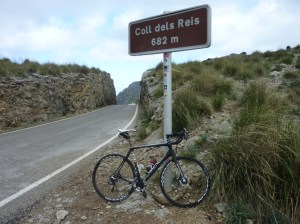
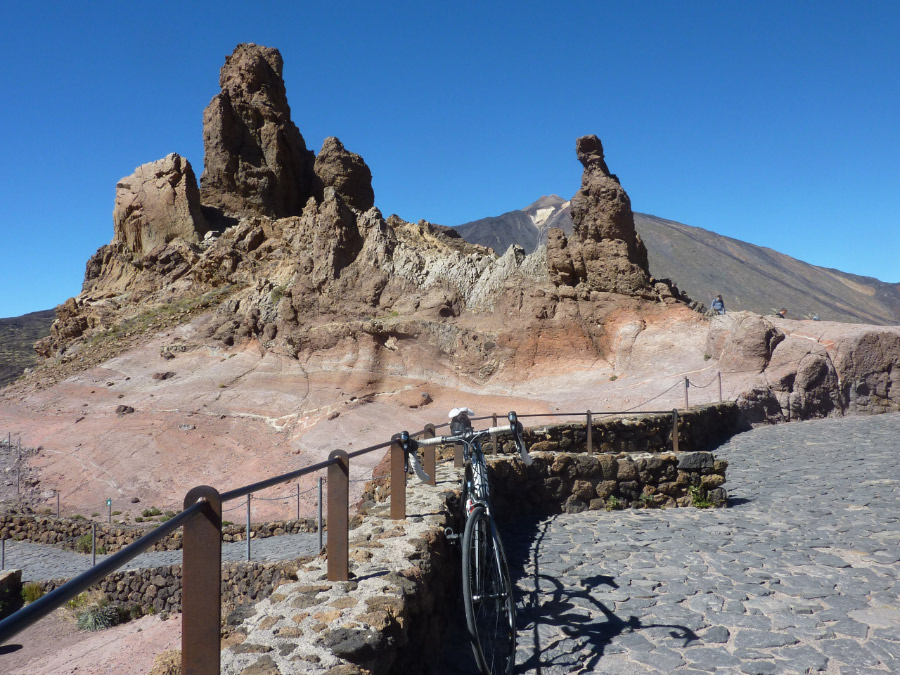
- Coll Dels Reis – the gateway to Sa Colobra
-
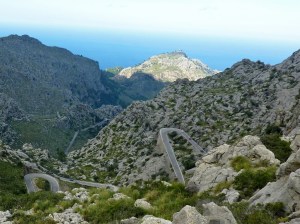
- Sa Colobra
-
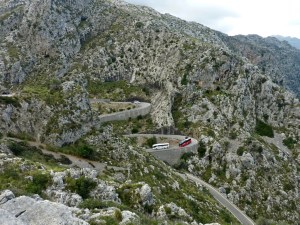
- Sa Colobra
-
- Sa Colobra
-
- Sa Colobra Port
-
- Sa Colobra
-
- Port de Pollenca
-

- Port de Pollenca
-

- Ermita de la Victoria ride
-
- Ermita de la Victoria
-
- Ermita de la Victoria ride
-

- Ermita de la Victoria ride
-

- Ermita de la Victoria ride
-
- Ermita de la Victoria ride
-

- Ermita de la Victoria ride
-
- Stunning sunrise over Pollenca Bay
-

- The start in Port de Pollenca (photo: Margalida Ferrer)
-

- 8.00am sharp and we are off…(photo: Margalida Ferrer)
-
- 8.00am sharp and we are off…(photo: Margalida Ferrer)
-
- Somewhere around Deia i think
-
- Great sea views on the road to Andratx
-
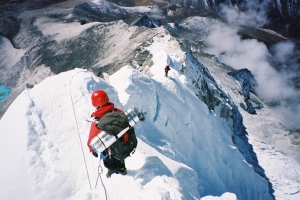
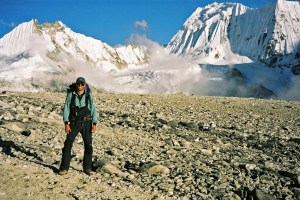
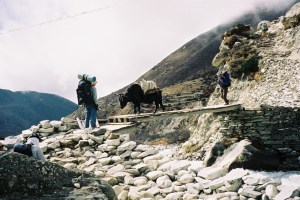
- TransTramuntana 4500
-
- TransTramuntana 4500 (Photo: Margalida Ferrer)
-
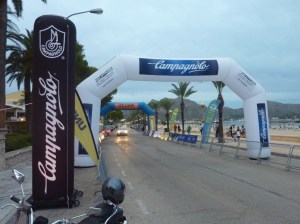
- The finish line in Port de Pollenca
-

- Tired but happy at the end of the day
-
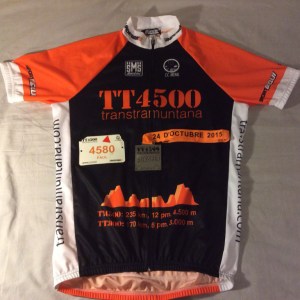
- TransTramuntana 4500 jersey 2015
-

- Finishers medal Transtramuntana 2015
-

- Mallorca and the TransTramuntana route
-

- TransTramuntana route map